Installing computer memory is a straightforward process that can significantly enhance your system’s performance. Whether upgrading an existing setup or building a new PC, understanding the correct installation steps ensures compatibility and avoids hardware damage. This guide covers essential precautions, tools, and techniques for installing RAM in desktops and laptops.
Pre-Installation Preparations
Before handling memory modules, power off the device and disconnect all cables. For laptops, remove the battery if possible. Ground yourself by touching a metal surface to discharge static electricity, which can harm sensitive components. Gather necessary tools: a screwdriver (for laptop panels or desktop side covers) and your RAM kit. Check the motherboard or laptop manual to confirm compatible memory types (DDR4, DDR5), speeds, and maximum capacity.
Desktop Memory Installation
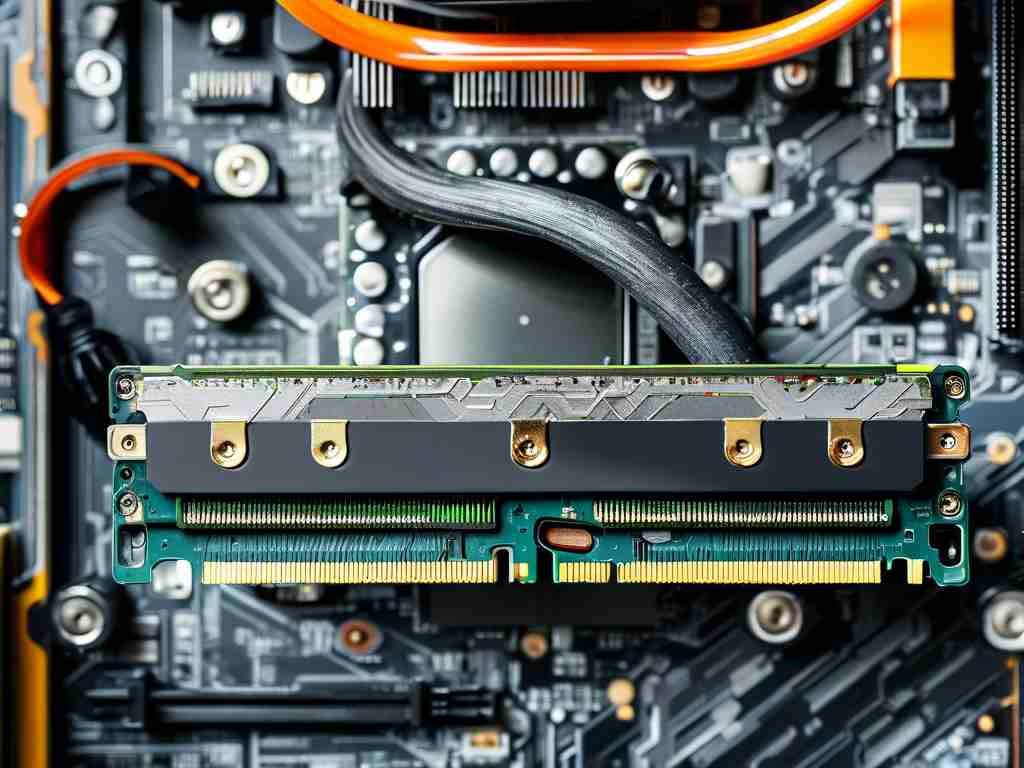
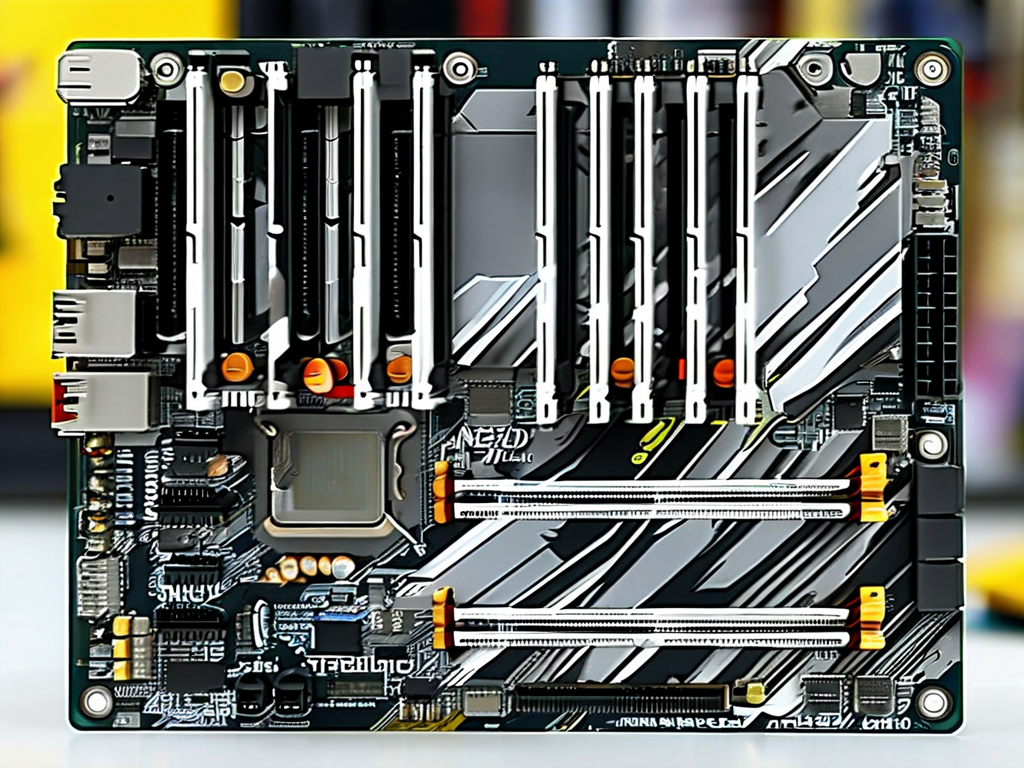
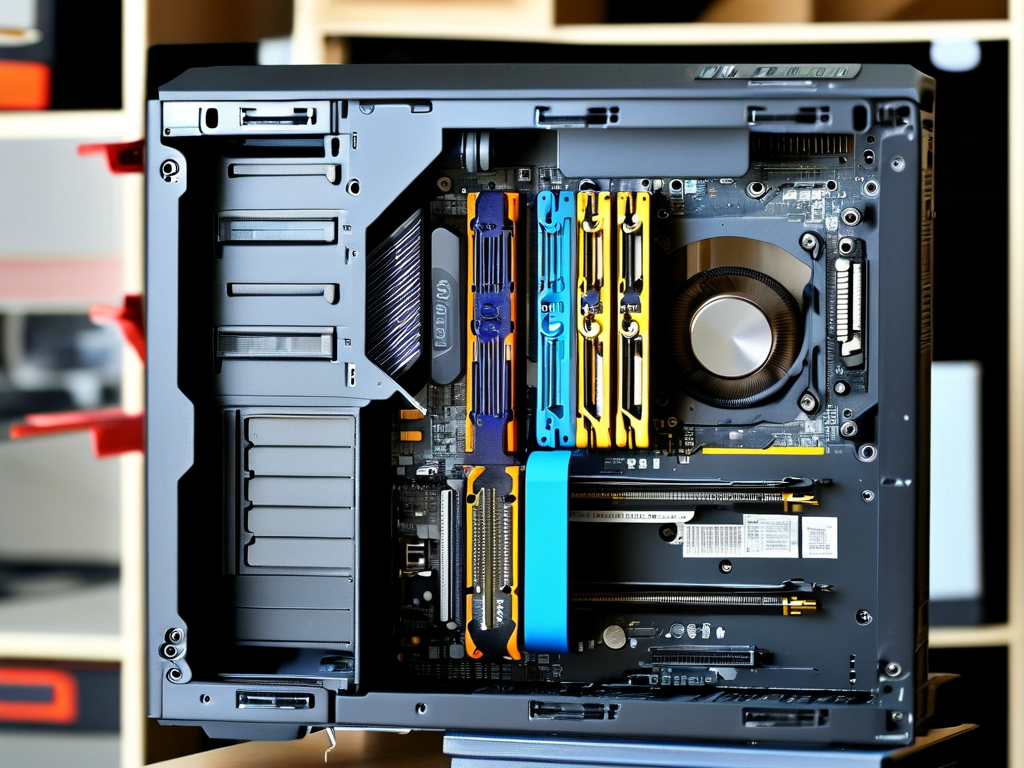
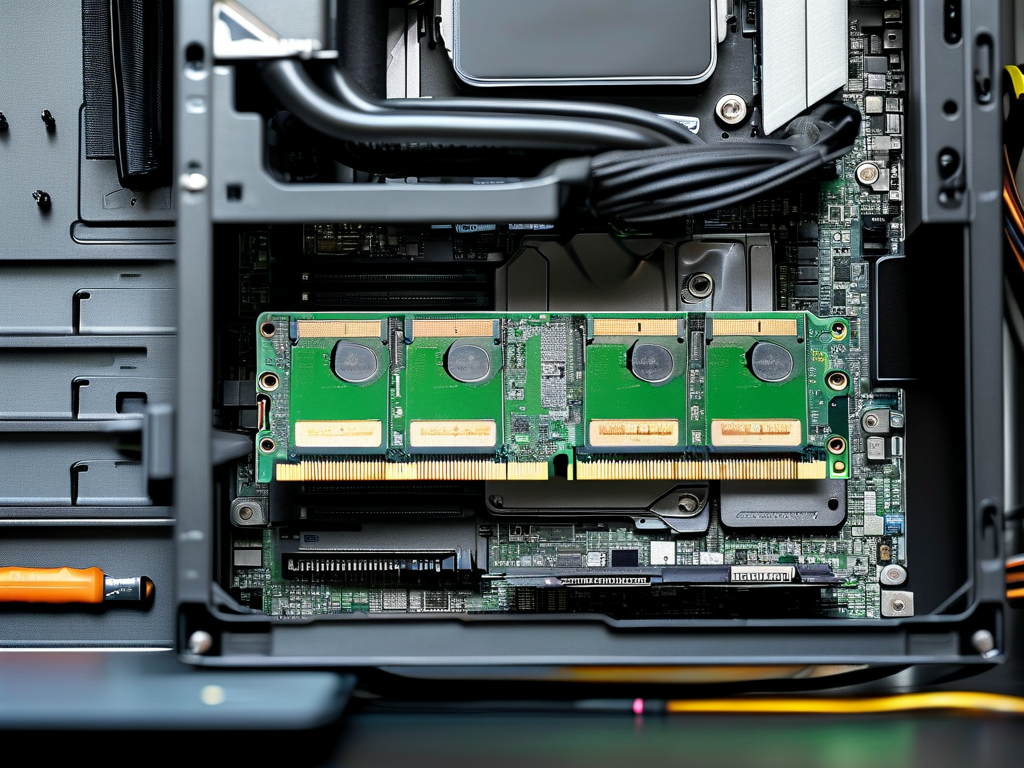
Open the desktop case by removing the side panel, typically secured with thumbscrews or Phillips-head screws. Locate the RAM slots on the motherboard, usually positioned near the CPU. Unclip the retention arms at both ends of the slot. Align the notch on the RAM module with the slot’s ridge—this ensures correct orientation. Firmly press the module straight down until the clips snap into place. For dual-channel configurations, install matching RAM sticks in slots of the same color, often slots 2 and 4 for optimal performance.
Laptop Memory Installation
Laptop RAM slots are often accessible via a panel on the underside. Remove the screws holding the panel and gently pry it open. Some models require sliding the module into a diagonal position before seating it. Unlike desktops, laptops may have limited slots, so verify upgradeability beforehand. Insert the RAM at a 45-degree angle, then press down until it clicks into a horizontal position. Replace the panel and screws securely.
Post-Installation Checks
Reconnect power and peripherals, then boot the system. Enter the BIOS/UEFI by pressing a key like Delete, F2, or Esc during startup. Navigate to the memory section to verify the new RAM is detected and running at the correct speed. If the system fails to boot, reseat the modules and ensure full insertion. For Windows users, open Task Manager (Ctrl+Shift+Esc) and check the “Performance” tab to confirm total memory. Linux users can run terminal commands like sudo dmidecode --type memory or free -h for validation.
Troubleshooting Common Issues
If the system recognizes only part of the RAM, ensure the OS supports the capacity (e.g., 64-bit systems for over 4GB). Incompatible speeds may cause instability—adjust XMP/DOCP profiles in BIOS or manually set timings. Physical obstructions like CPU coolers can block desktop RAM slots; plan component layouts accordingly. For persistent errors, test modules individually to identify faulty hardware.
Optimizing Memory Performance
After successful installation, consider enabling XMP (Intel) or DOCP (AMD) profiles in BIOS to unlock higher speeds. Ensure adequate cooling, as overclocked RAM generates additional heat. Regularly update motherboard firmware to support newer memory technologies. Tools like MemTest86 can stress-test modules for reliability.
By following these steps, users can safely upgrade their systems without professional assistance. Always handle components by the edges, avoid excessive force, and double-check specifications to prevent compatibility issues. With proper installation, upgraded memory reduces bottlenecks, accelerates multitasking, and extends the lifespan of aging devices.