Upgrading your computer’s memory (RAM) is one of the most cost-effective ways to improve its performance. Whether you’re a gamer, a content creator, or someone who multitasks between applications, adding more RAM can reduce lag, speed up workflows, and extend the lifespan of your machine. This guide walks you through the process step by step, while addressing common questions and pitfalls.

Understanding RAM Compatibility
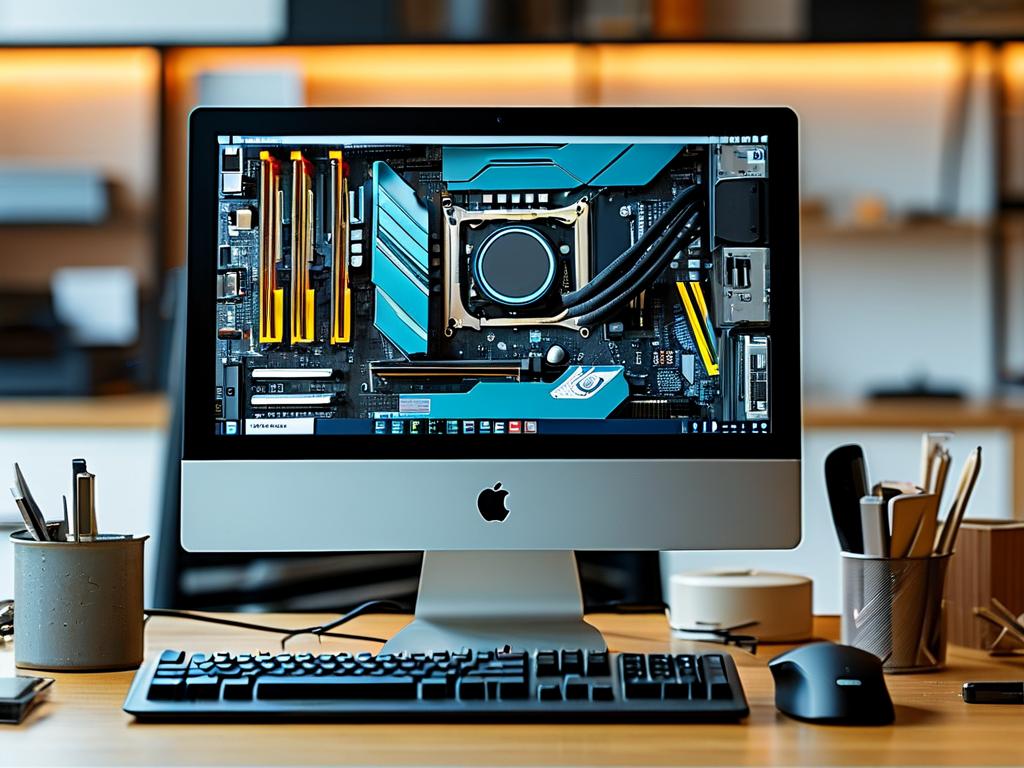
Before purchasing new RAM, check your computer’s specifications. Motherboards support specific types of memory (e.g., DDR4, DDR5) and have maximum capacity limits. For example, a laptop designed for DDR4-2400 won’t work with DDR5 modules. Tools like CPU-Z or manufacturer websites can help identify compatible RAM. Additionally, note the number of available slots—most systems have two to four—to decide whether to replace existing sticks or add new ones.
Preparing for Installation
Safety is critical when handling hardware. Turn off the computer, unplug it, and ground yourself to prevent electrostatic discharge (ESD). A wrist strap or touching a metal surface can dissipate static electricity. Gather tools: a screwdriver (typically Phillips #1), your RAM modules, and the motherboard manual. For laptops, access panels are often secured with small screws, while desktops may require removing side panels.
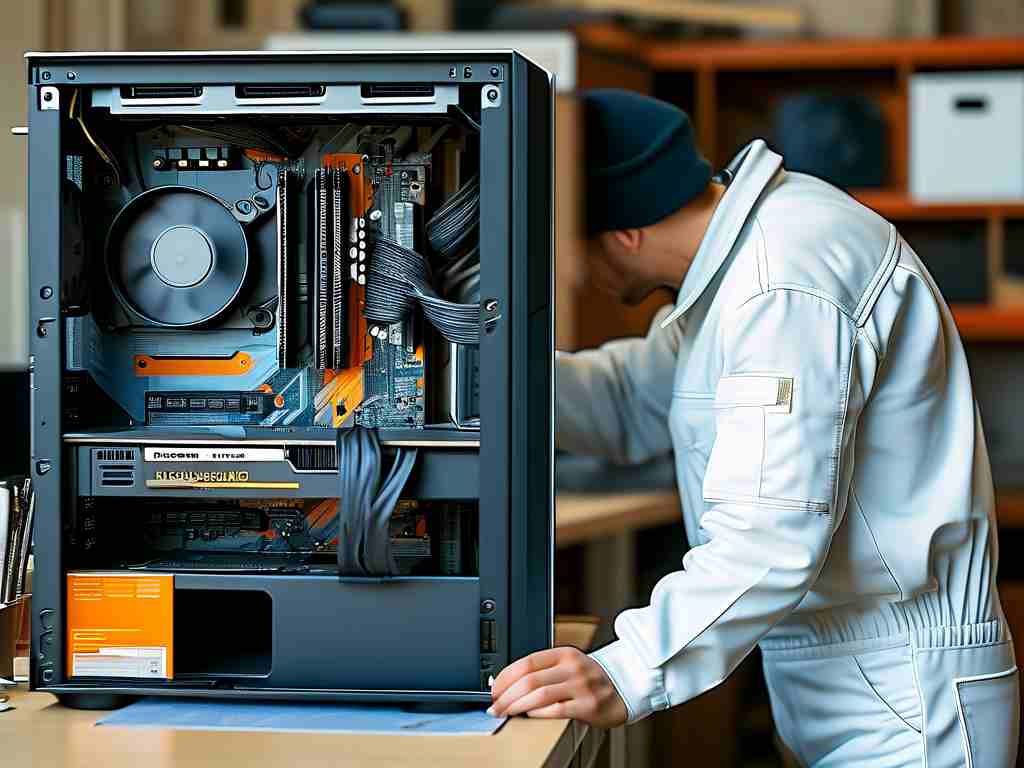
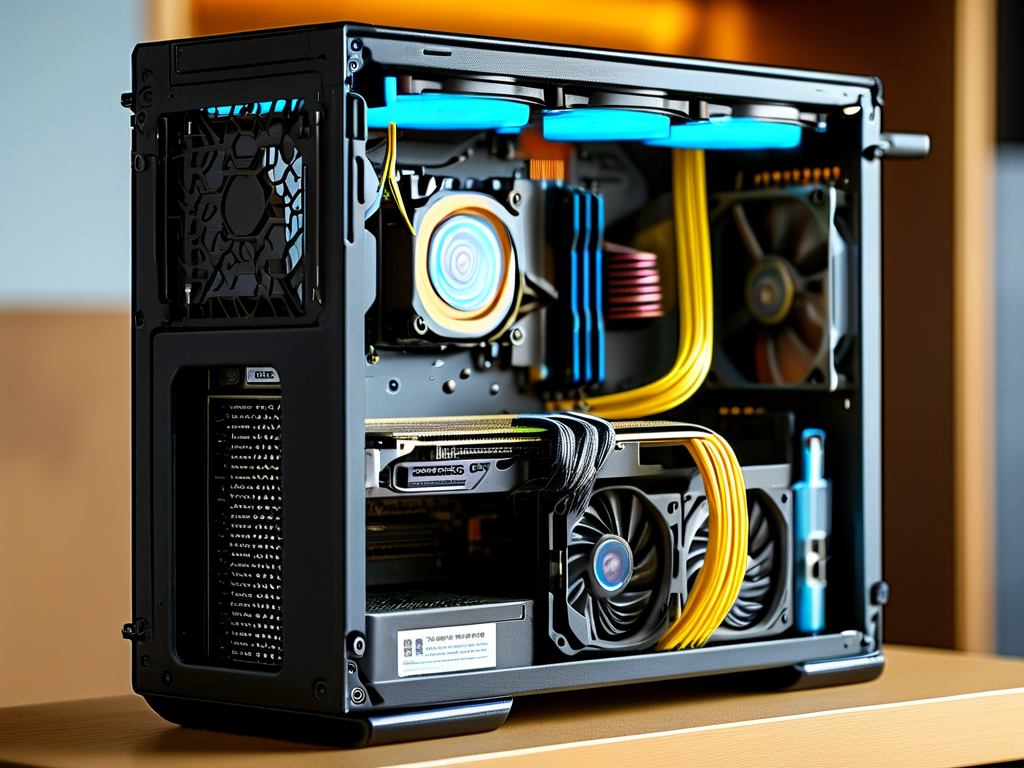
Installing the RAM
For desktops:
- Open the case and locate the RAM slots near the CPU.
- Release the retention clips on either side of the slot.
- Align the notch on the RAM stick with the slot’s ridge and press firmly until the clips snap into place.
For laptops:
- Remove the bottom panel or dedicated memory compartment.
- Insert the RAM at a 45-degree angle, then gently press down to lock it horizontally.
Avoid forcing the modules—if they don’t seat easily, double-check alignment. Most systems support dual-channel configurations, so install pairs of identical sticks in matching slots (e.g., slots 1 and 3) for optimal performance.
Post-Installation Checks
After installing, reassemble the computer and power it on. Enter the BIOS/UEFI (usually by pressing Del, F2, or Esc during startup) to verify the system recognizes the new RAM. If the full capacity isn’t detected, reseat the modules or test them individually to identify faults. On Windows, open Task Manager (Ctrl+Shift+Esc) and navigate to the Performance tab to confirm the updated memory stats.
Troubleshooting Common Issues
- Blue Screen Errors: Incompatible RAM often causes crashes. Test modules with tools like MemTest86.
- Underutilized RAM: Ensure your OS supports the capacity. Windows 10 Home, for instance, maxes out at 128GB.
- Speed Mismatches: If RAM runs slower than advertised, enable XMP/DOCP profiles in the BIOS.
When to Consider Professional Help
While DIY upgrades are straightforward, some devices—like ultrabooks or all-in-one PCs—have soldered RAM, making upgrades impossible without specialized tools. In such cases, consulting a technician or considering a new system may be more practical.
Expanding your computer’s memory is a simple yet impactful upgrade. By following compatibility guidelines, handling components carefully, and verifying post-installation results, you can breathe new life into an older machine or optimize a newer one for demanding tasks. For those hesitant about DIY, many retailers offer installation services for a fee, ensuring a hassle-free experience.