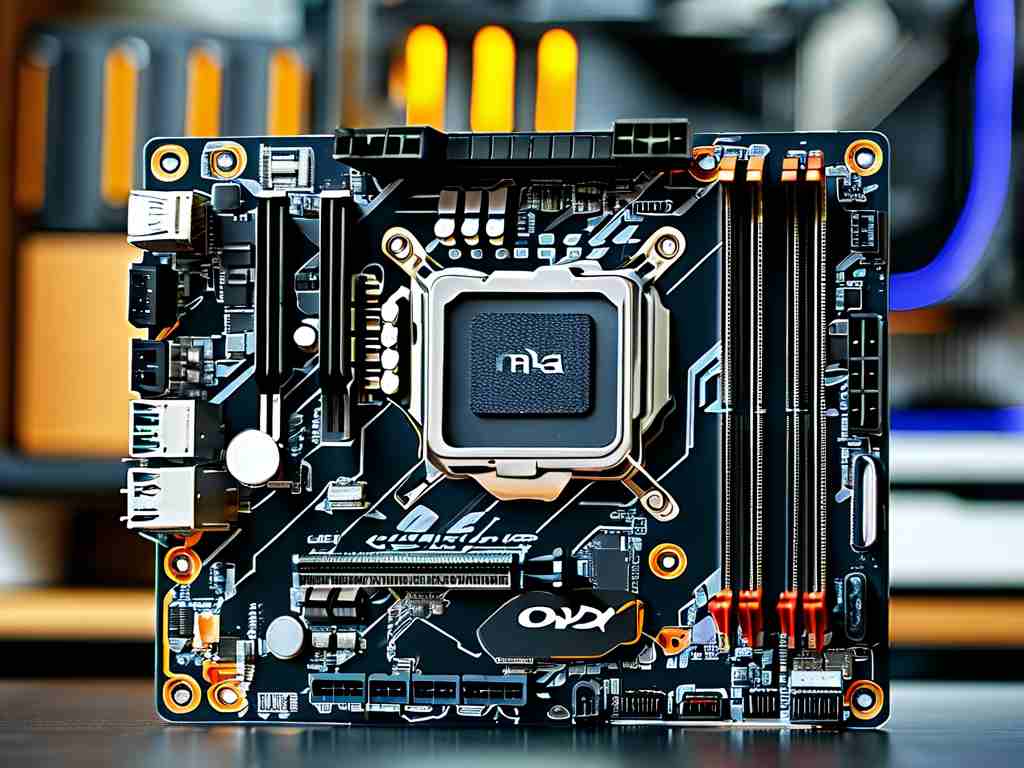
Understanding how to calculate and adjust memory voltage on an Onda motherboard is essential for optimizing system performance, especially when overclocking RAM modules. This guide provides step-by-step instructions tailored for Onda motherboards while explaining core concepts to ensure safe and effective adjustments.

Why Memory Voltage Matters
Memory voltage directly impacts the stability and speed of RAM modules. Higher voltages allow memory chips to operate at faster frequencies, but exceeding recommended limits risks hardware damage or data corruption. Onda motherboards, known for their budget-friendly yet customizable BIOS options, offer granular control over voltage settings, making them popular among enthusiasts seeking performance tweaks.
Locating Voltage Settings in BIOS
To access memory voltage adjustments on an Onda motherboard:
- Restart the system and press
DeleteorF2during boot to enter BIOS. - Navigate to the Advanced or Overclocking tab using arrow keys.
- Look for sections labeled DRAM Configuration or Voltage Control.
Unlike some mainstream brands, Onda often groups voltage parameters under technical submenus. For example, on the Onda B550-BTC model, memory voltage appears as VDDQ Voltage within the Chipset Voltage hierarchy. Always refer to your specific motherboard’s manual for exact menu paths.
Calculating Safe Voltage Ranges
Most DDR4 RAM modules default to 1.2V, with XMP profiles typically pushing this to 1.35V. For manual overclocking on Onda boards:
Base Voltage (V) = Manufacturer’s Spec + (Target Frequency Increase × 0.01) Example: If upgrading from 2400MHz to 3200MHz, add 0.08V (8 × 0.01) to the base 1.2V, resulting in 1.28V. However, this formula serves only as a starting point—actual stability depends on RAM chip quality and motherboard power delivery.
Testing and Validation
After adjusting voltages:
- Use
MemTest86orHCI Design’s MemTestfor error checking - Monitor temperatures via utilities like
HWMonitor - Stress-test with
Prime95for 1-2 hours
Onda’s BIOS includes basic validation tools, but third-party software provides deeper insights. If errors occur, incrementally reduce frequency or increase voltage by 0.01V until stable. Never exceed 1.5V for daily use on air-cooled systems.
Model-Specific Considerations
Recent Onda models like the H610M-VH4 implement voltage locks to prevent unsafe adjustments. To bypass this:
- Enable
Advanced Modein BIOS (usuallyCtrl + F1) - Modify
SA Voltagealongside DRAM voltage - Update to the latest BIOS version for improved compatibility
Older boards like the A320SD3-ITX lack automatic voltage scaling, requiring manual input for both frequency and voltage changes.
Troubleshooting Common Issues
- Boot Failure: Reset CMOS using the motherboard jumper
- Random Crashes: Check for uneven voltage distribution across DIMM slots
- Temperature Spikes: Ensure proper case airflow before increasing voltages
For dual-channel configurations on Onda boards, balance voltage between slots. Some users report better stability when matching voltages across all channels within ±0.02V tolerance.
Advanced Techniques
Experienced users can modify secondary timings through Onda’s DRAM Training menu. Lowering tRFC (Refresh Cycle Time) while slightly increasing voltage often yields latency improvements. For example:
tRFC = 350ns → 300ns
Voltage Adjustment = +0.03V
This requires careful testing but can unlock 5-7% performance gains in memory-sensitive applications.
Mastering memory voltage calculations on Onda motherboards involves understanding manufacturer specifications, BIOS navigation, and systematic testing. By following these guidelines and respecting hardware limits, users can safely enhance system responsiveness without compromising reliability. Always document changes and maintain backup BIOS profiles to streamline troubleshooting.


