Pulse Width Modulation (PWM) plays a pivotal role in modern embedded development, enabling precise control over devices like motors and LEDs through variable duty cycles. Designing an effective PWM module requires a blend of hardware considerations and software implementation, tailored to specific microcontroller architectures. This guide delves into the essentials of PWM module design, offering practical insights for engineers and hobbyists alike. By focusing on real-world applications and best practices, you can avoid common pitfalls and optimize performance in your embedded systems.

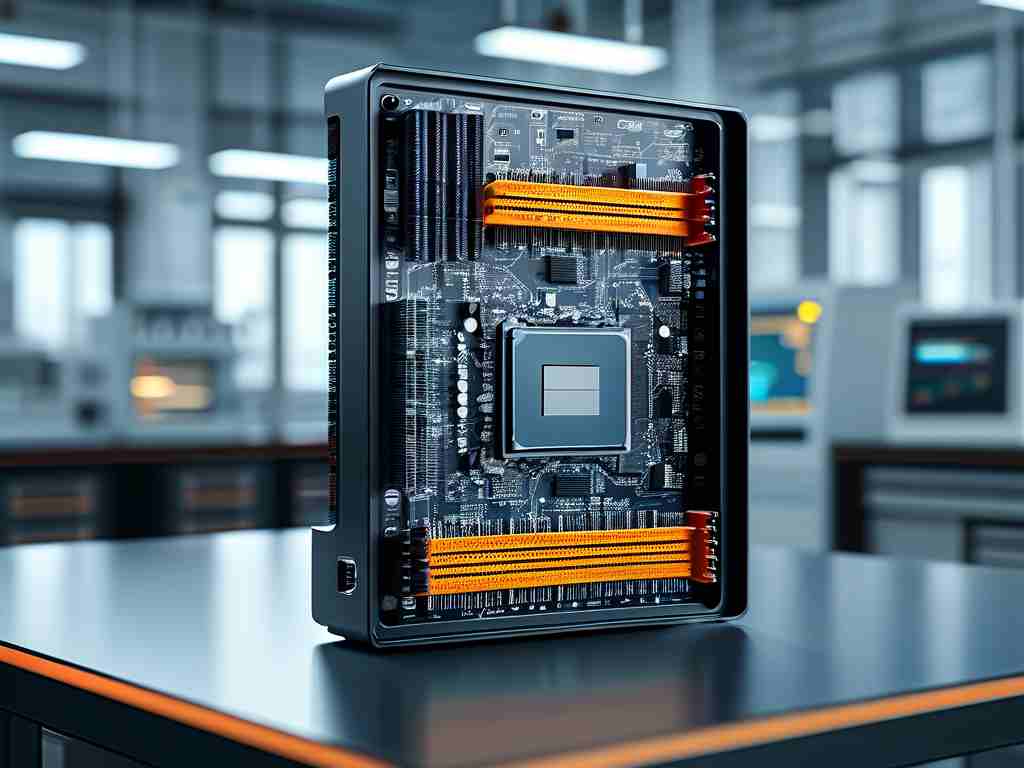
At its core, PWM involves generating a square wave signal where the width of the high pulse (duty cycle) varies to control power delivery. For instance, in a motor speed controller, a higher duty cycle increases rotational speed, while a lower one reduces it. This technique conserves energy and minimizes heat, making it ideal for battery-powered devices. When designing a PWM module in embedded systems, start by selecting the right microcontroller. Many popular chips, such as those from the STM32 or Arduino families, feature built-in PWM peripherals that simplify hardware interfacing. Hardware considerations include choosing appropriate pins for output, ensuring proper voltage levels, and incorporating protection circuits like flyback diodes for inductive loads to prevent damage from voltage spikes.
On the software front, initializing the PWM module involves configuring timers and registers to set parameters like frequency and resolution. Frequency determines how often the signal repeats, typically ranging from a few hertz to kilohertz, depending on the application. Higher frequencies reduce audible noise in motors but may increase power consumption. Resolution, measured in bits, defines how finely the duty cycle can be adjusted; an 8-bit resolution offers 256 levels of control, while 16-bit provides over 65,000 steps for ultra-precise adjustments. Here's a simple code snippet for setting up PWM on an STM32 microcontroller using the HAL library. This example configures Timer 2 to output a 1 kHz signal with 50% duty cycle on GPIO Pin PA0:
#include "stm32f4xx_hal.h"
TIM_HandleTypeDef htim2;
TIM_OC_InitTypeDef sConfigOC;

void PWM_Init(void) {
    __HAL_RCC_TIM2_CLK_ENABLE();
    __HAL_RCC_GPIOA_CLK_ENABLE();
    GPIO_InitTypeDef GPIO_InitStruct = {0};
    GPIO_InitStruct.Pin = GPIO_PIN_0;
    GPIO_InitStruct.Mode = GPIO_MODE_AF_PP;
    GPIO_InitStruct.Pull = GPIO_NOPULL;
    GPIO_InitStruct.Speed = GPIO_SPEED_FREQ_HIGH;
    GPIO_InitStruct.Alternate = GPIO_AF1_TIM2;
    HAL_GPIO_Init(GPIOA, &GPIO_InitStruct);

    htim2.Instance = TIM2;
    htim2.Init.Prescaler = 83;
    htim2.Init.CounterMode = TIM_COUNTERMODE_UP;
    htim2.Init.Period = 999;
    htim2.Init.ClockDivision = TIM_CLOCKDIVISION_DIV1;
    HAL_TIM_PWM_Init(&htim2);

    sConfigOC.OCMode = TIM_OCMODE_PWM1;
    sConfigOC.Pulse = 500;
    sConfigOC.OCPolarity = TIM_OCPOLARITY_HIGH;
    sConfigOC.OCFastMode = TIM_OCFAST_DISABLE;
    HAL_TIM_PWM_ConfigChannel(&htim2, &sConfigOC, TIM_CHANNEL_1);
    HAL_TIM_PWM_Start(&htim2, TIM_CHANNEL_1);
}
This code snippet demonstrates the importance of timer configuration, where the prescaler and period values adjust the frequency, and the pulse value sets the duty cycle. It's crucial to test such modules with an oscilloscope to verify signal accuracy and avoid timing errors that could lead to erratic device behavior.
Beyond basic setup, advanced design techniques involve dynamic duty cycle adjustments for responsive control. For example, in a smart lighting system, PWM can dim LEDs based on ambient light sensors by updating the duty cycle in real-time. This requires efficient interrupt handling or DMA transfers to minimize CPU overhead. Additionally, consider power efficiency; using low-power modes in microcontrollers when PWM is idle can extend battery life in portable gadgets. Thermal management is another key aspect, as prolonged high-duty cycles might overheat components. Always incorporate current-limiting resistors or heat sinks in your PCB layout.
Practical applications of PWM modules abound in everyday embedded systems. In robotics, PWM drives servo motors for precise joint movements, while in consumer electronics, it regulates fan speeds in laptops or controls backlighting in displays. A case study from an automotive project shows how PWM design improved fuel efficiency by optimizing injector timing in engine control units. Challenges like electromagnetic interference (EMI) can arise from high-frequency signals, so shielding and grounding techniques are essential during PCB design.
To ensure robustness, adopt best practices such as modular coding for reusability across projects. Use abstraction layers to decouple hardware dependencies, making your PWM module portable between different microcontrollers. Testing should include boundary cases, like 0% and 100% duty cycles, to catch faults early. Finally, document your design thoroughly with comments and schematics to aid maintenance. As embedded systems evolve, PWM modules remain fundamental, empowering innovations in IoT and automation. By mastering these principles, you can create reliable, high-performance solutions that stand the test of time.