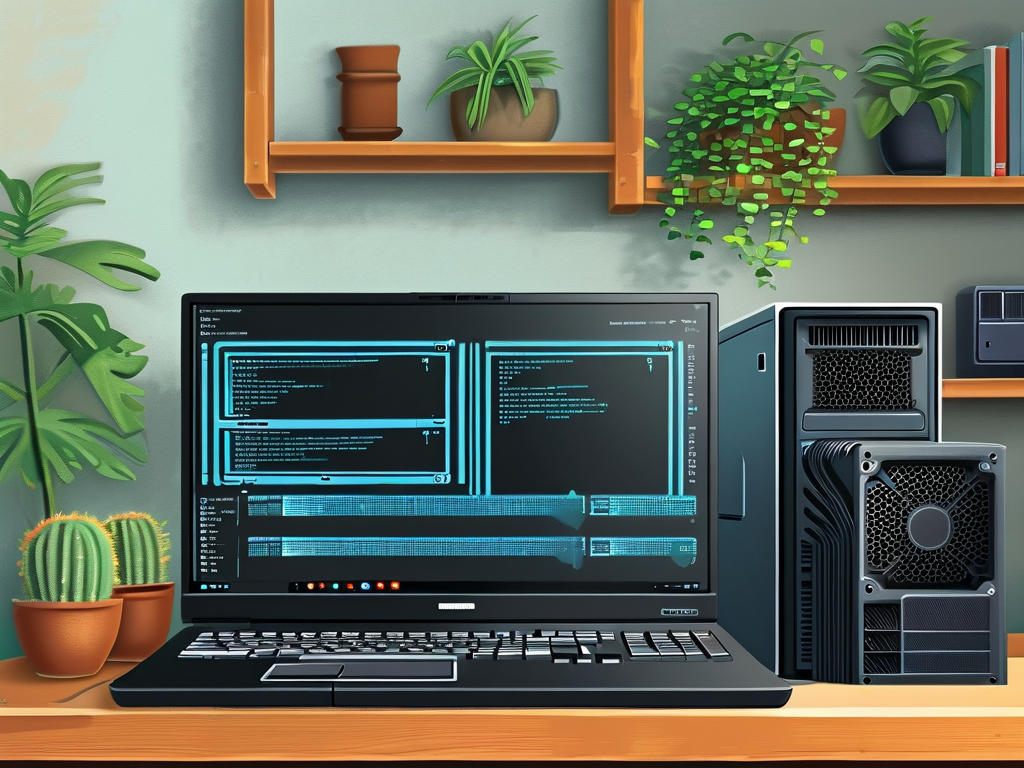
In today’s fast-paced digital environment, upgrading a computer’s memory (RAM) is one of the most effective ways to enhance performance for multitasking, gaming, or resource-intensive applications. Whether you’re a casual user or a tech enthusiast, understanding how to safely expand your system’s memory can save costs and extend your device’s lifespan. This guide provides practical insights into RAM expansion while addressing common pitfalls and best practices.
Why Upgrade RAM?
Random Access Memory (RAM) acts as a temporary workspace for active processes. Insufficient RAM forces computers to rely on slower storage devices like hard drives or SSDs for "virtual memory," leading to lag and reduced efficiency. Modern software, especially browsers, video editors, and games, often demand more memory than older systems provide. Upgrading RAM can resolve frequent freezing, slow app launches, and overall system sluggishness.
Pre-Upgrade Preparation
Before purchasing new RAM modules, identify your system’s compatibility. Start by checking the motherboard’s specifications: maximum supported RAM capacity, available slots, and memory type (e.g., DDR4 or DDR5). Tools like CPU-Z (Windows) or System Information (macOS) can reveal current RAM details. For example, running sudo dmidecode --type memory in Linux terminals displays slot configurations and supported speeds.
Next, determine your usage needs. Basic tasks like web browsing may require 8GB, while video editing or 3D rendering could necessitate 32GB or higher. Always match the RAM’s clock speed (e.g., 2400MHz) with existing modules to avoid performance bottlenecks. Mixing different speeds may force all modules to operate at the lowest frequency.
Installation Process
- Safety First: Power off the computer and disconnect all cables. Ground yourself using an anti-static wristband or by touching unpainted metal surfaces to prevent electrostatic discharge (ESD).
- Access Memory Slots: Desktop users typically remove side panels, while laptops may require bottom panel removal. Refer to device manuals for specific instructions.
- Insert New Modules: Align the notch on the RAM stick with the slot’s key. Apply even pressure until the retention clips snap into place. For dual-channel setups, install matching pairs in color-coded slots.
- Post-Installation Check: Reassemble the device, reconnect peripherals, and power it on. Verify recognition via the OS (e.g., Windows Task Manager’s Performance tab) or BIOS/UEFI settings.
Troubleshooting Common Issues
- System Doesn’t Boot: Ensure modules are fully seated. Test individual sticks in different slots to identify faulty hardware.
- RAM Not Fully Detected: Update the motherboard’s BIOS/UEFI firmware, as outdated versions may lack support for newer modules.
- Incompatibility Errors: Cross-verify part numbers with the motherboard’s Qualified Vendor List (QVL).
Alternative Solutions for Non-Upgradable Devices
Some modern laptops and ultrabooks feature soldered RAM, making physical upgrades impossible. In such cases, optimize existing resources by:
- Closing background applications.
- Increasing virtual memory allocation (Windows:
System Properties > Advanced > Performance Settings). - Using lightweight software alternatives.
Expanding RAM is a cost-effective method to revitalize aging systems. By following compatibility guidelines and proper installation techniques, users can avoid hardware conflicts and maximize performance gains. For non-technical individuals, consulting professional technicians ensures a seamless upgrade process. As software demands grow, proactive memory management remains critical for maintaining a responsive computing experience.