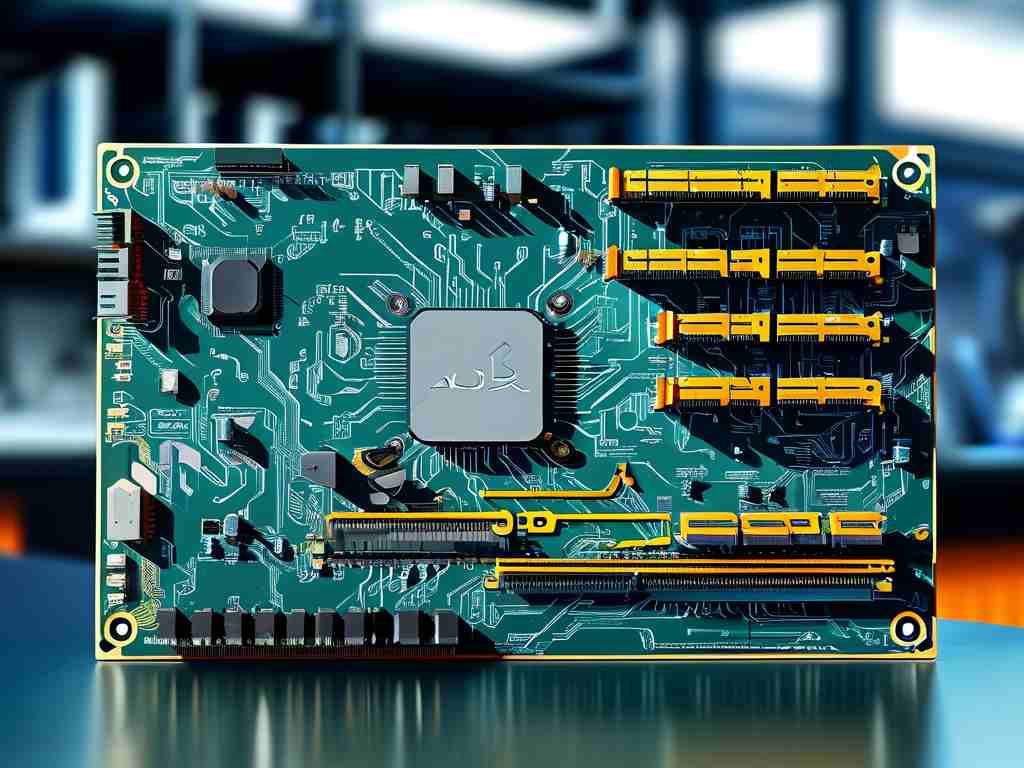
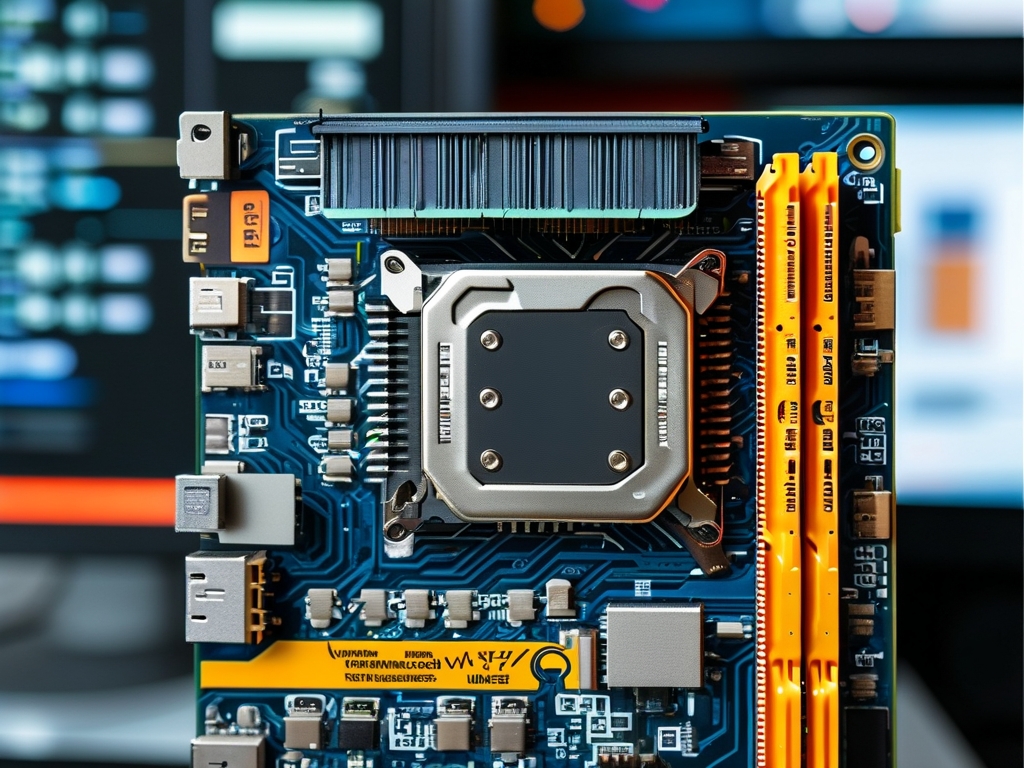
Understanding memory voltage management is crucial for optimizing system performance on Onda motherboards. This guide explores practical methods for calculating and adjusting memory voltage settings while maintaining hardware stability.

Why Voltage Matters
Memory modules require precise voltage levels to operate efficiently. Onda motherboards, like other modern computing platforms, allow users to fine-tune these values through BIOS or software utilities. Incorrect voltage settings may lead to system instability, data corruption, or even hardware damage. For enthusiasts pushing memory overclocking limits, mastering voltage calculations becomes essential.
Voltage Calculation Basics
Modern DDR4/DDR5 modules typically operate at 1.2V-1.35V, but actual requirements vary by manufacturer and chip type. To calculate optimal voltage:
- Identify memory specifications using tools like CPU-Z or Thaiphoon Burner
- Cross-reference with Onda's QVL (Qualified Vendor List) for compatibility notes
- Apply formula: Base Voltage + (OC Frequency × 0.0005V)
For example:
A 3200MHz module overclocked to 3600MHz would require:
1.2V + (400MHz × 0.0005) = 1.4V
BIOS Configuration Steps
Access Onda's UEFI BIOS by pressing DEL/F2 during boot:
- Navigate to "Advanced Memory Settings"
- Locate "DRAM Voltage Control"
- Input calculated value (1.35V-1.45V for safe overclocking)
- Save changes and perform stress tests
Safety Considerations
- Never exceed 1.5V without active cooling
- Monitor temperatures using HWMonitor or AIDA64
- Implement incremental adjustments (0.01V steps)
- Revert to defaults if system fails POST
Troubleshooting Common Issues
Problem 1: Boot failure after voltage change
Solution: Reset CMOS using motherboard jumper
Problem 2: Random crashes under load
Solution: Increase System Agent Voltage (VCCSA) by 0.05V
Problem 3: Memory errors in MemTest86
Solution: Adjust tCL/tRCD timings or reduce frequency
Advanced Techniques
For competitive overclockers:
- Modify VTTDDR (Termination Voltage) for signal stability
- Combine voltage adjustments with latency tuning
- Use oscilloscope measurements for precision (requires technical expertise)
Onda-Specific Features
Recent BIOS updates (version P2.1+) introduce:
- Auto-calibration for XMP profiles
- Voltage offset compensation (-0.02V to +0.08V)
- Real-time voltage monitoring in Windows via Onda Gamer Studio
Proper memory voltage management on Onda motherboards balances performance gains with hardware longevity. Start with conservative adjustments and document all changes. Remember that silicon quality varies – some modules may achieve better results at lower voltages. Always prioritize system stability over benchmark scores, and consult Onda's technical support for model-specific guidance.
Pro Tip: Create multiple BIOS profiles for different use cases (gaming, productivity, default) to quickly switch between configurations.

