Upgrading your computer’s memory (RAM) is one of the most cost-effective ways to boost performance. Whether you’re a gamer, a content creator, or simply looking to speed up daily tasks, installing RAM requires careful preparation and execution. This guide will walk you through the process while emphasizing safety and best practices.

Understanding Compatibility
Before purchasing new memory modules, verify your system’s compatibility. Check your motherboard’s specifications to confirm the supported RAM type (DDR4, DDR5, etc.), maximum capacity, and speed. Tools like CPU-Z or manufacturer websites can help identify these details. For example, if your motherboard supports DDR4-3200, avoid mixing it with DDR5 modules. Additionally, ensure your operating system (32-bit vs. 64-bit) can handle the added memory.
Safety Precautions
Static electricity can damage sensitive components. Always ground yourself by touching a metal surface or wearing an anti-static wristband before handling RAM. Power off the computer, unplug it from the wall, and press the power button for 10 seconds to discharge residual electricity. Work in a clean, well-lit area to avoid losing screws or misplacing parts.
Step-by-Step Installation
- Open the Computer Case: Use a screwdriver to remove the side panel. Some modern cases feature tool-less designs with thumbscrews or latches.
- Locate RAM Slots: Identify the DIMM slots on the motherboard. Most boards have two to four slots, often color-coded for dual-channel configurations.
- Remove Existing RAM (if applicable): Push down on the retention clips at both ends of the module to release it. Gently pull the RAM straight out.
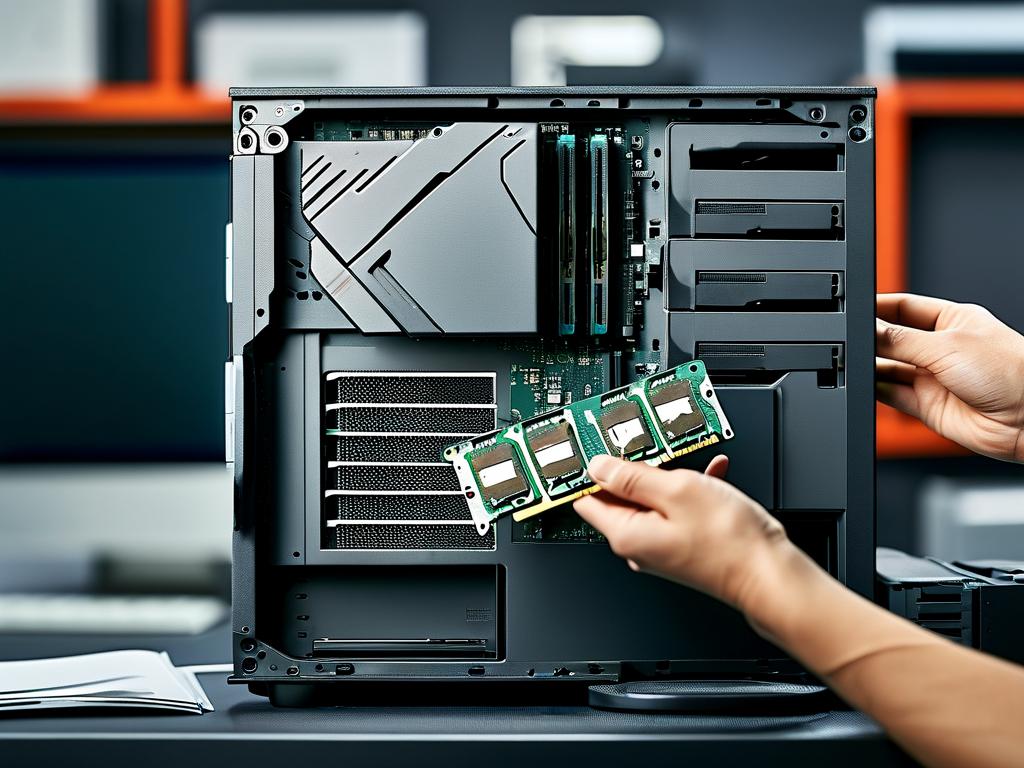
- Install New Modules: Align the notch on the RAM stick with the slot’s ridge. Firmly press down until the clips snap into place. A clicking sound confirms proper seating.
For dual-channel setups, install matching RAM pairs in slots of the same color. For instance, if slots 1 and 3 are blue, populate both for optimal performance.
Post-Installation Checks
Reattach the case panel and reconnect all cables. Power on the system and immediately enter the BIOS/UEFI (usually by pressing Delete, F2, or F10 during startup). Navigate to the memory settings to verify the new capacity and speed. If the BIOS doesn’t recognize the RAM, shut down and reseat the modules.
In Windows, confirm the upgrade via Task Manager (Ctrl+Shift+Esc > Performance > Memory). Linux users can run sudo dmidecode --type memory in the terminal.
Troubleshooting Common Issues
- System Fails to Boot: Ensure the RAM is fully seated. Test modules individually to identify faulty sticks.
- Blue Screen Errors: Incompatible RAM or incorrect BIOS settings may cause crashes. Reset BIOS to default or adjust XMP/DOCP profiles.
- Lower-than-Expected Speed: Enable XMP (Intel) or DOCP (AMD) in BIOS to achieve advertised speeds.
Optimizing RAM Performance
After installation, keep your system efficient by closing unused background applications. Tools like Windows’ Resource Monitor or third-party apps like MemTest86+ can identify memory leaks or hardware issues. For advanced users, manual overclocking via BIOS may yield extra performance but carries stability risks.
When to Seek Professional Help
If you encounter persistent errors or physical damage to components, consult a technician. Similarly, laptops with soldered RAM require specialized tools for replacement.
By following these steps, you’ve not only enhanced your computer’s capabilities but also gained valuable DIY experience. Regular maintenance, such as dusting RAM slots, ensures long-term reliability. Remember: patience and attention to detail turn a seemingly complex task into a rewarding achievement.