Upgrading your computer’s memory (RAM) is one of the most effective ways to enhance its performance, especially when multitasking or running resource-intensive applications. This process involves installing additional or higher-capacity RAM modules to improve speed and responsiveness. Below, we’ll explore practical steps to achieve this, along with tips to ensure compatibility and avoid common pitfalls.
Understanding RAM Compatibility
Before purchasing new RAM, verify your computer’s specifications. Check the motherboard’s maximum supported RAM capacity, type (e.g., DDR4, DDR5), and speed (measured in MHz). Tools like CPU-Z or system information utilities can provide these details. For example, open Command Prompt on Windows and run wmic memorychip get capacity, speed, memorytype to view existing RAM specs. Mismatched RAM can cause instability, so always cross-reference manufacturer guidelines.
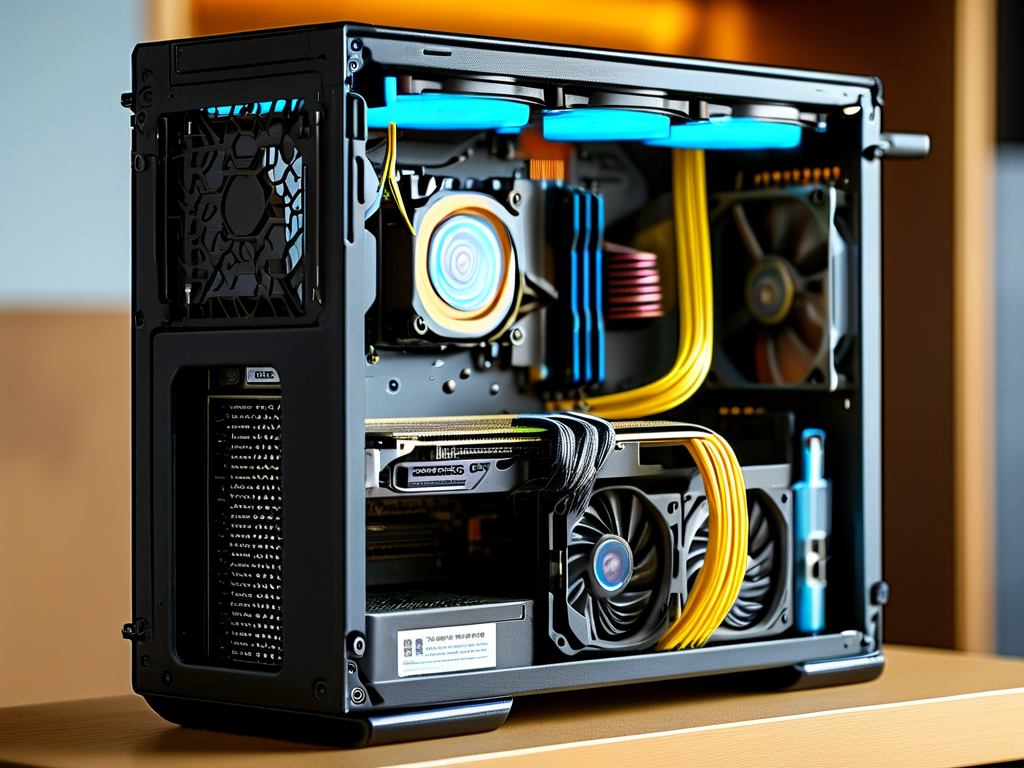
Choosing the Right RAM Modules
Opt for reputable brands like Corsair, Kingston, or Crucial to ensure reliability. If adding RAM to existing slots, match the new module’s specifications (speed, voltage, latency) with the old ones. For a complete upgrade, consider replacing older modules with higher-capacity ones. For instance, swapping two 4GB DDR4 sticks with two 8GB DDR4 sticks doubles total memory. Ensure the RAM’s form factor (e.g., DIMM for desktops, SODIMM for laptops) aligns with your device.
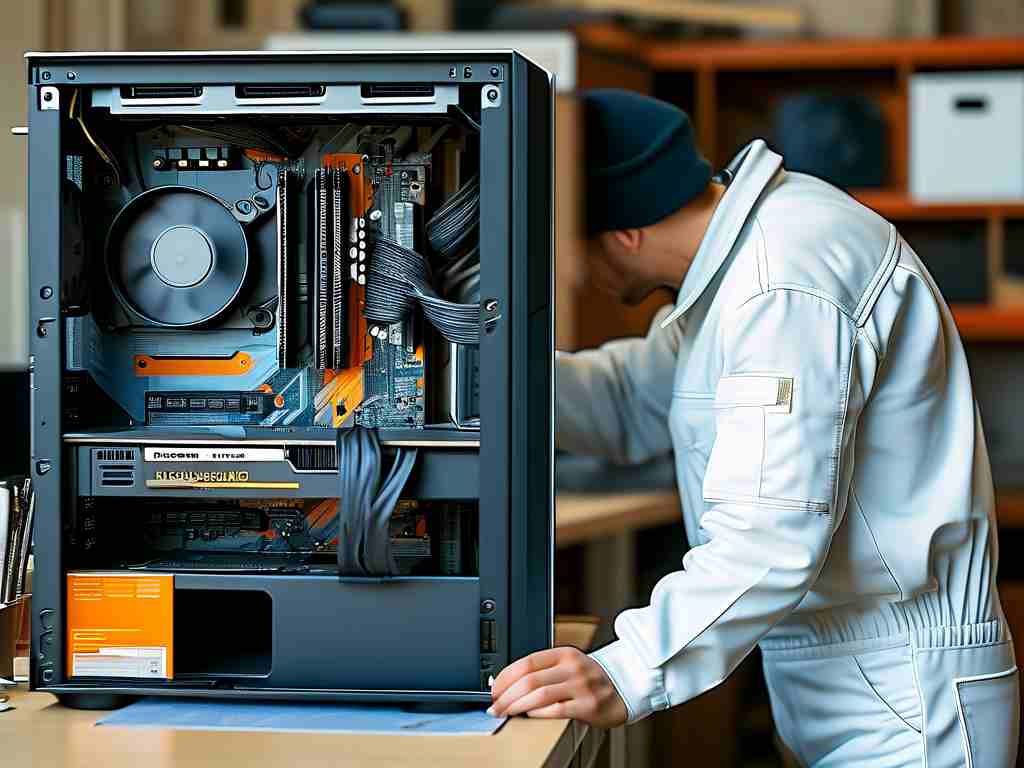
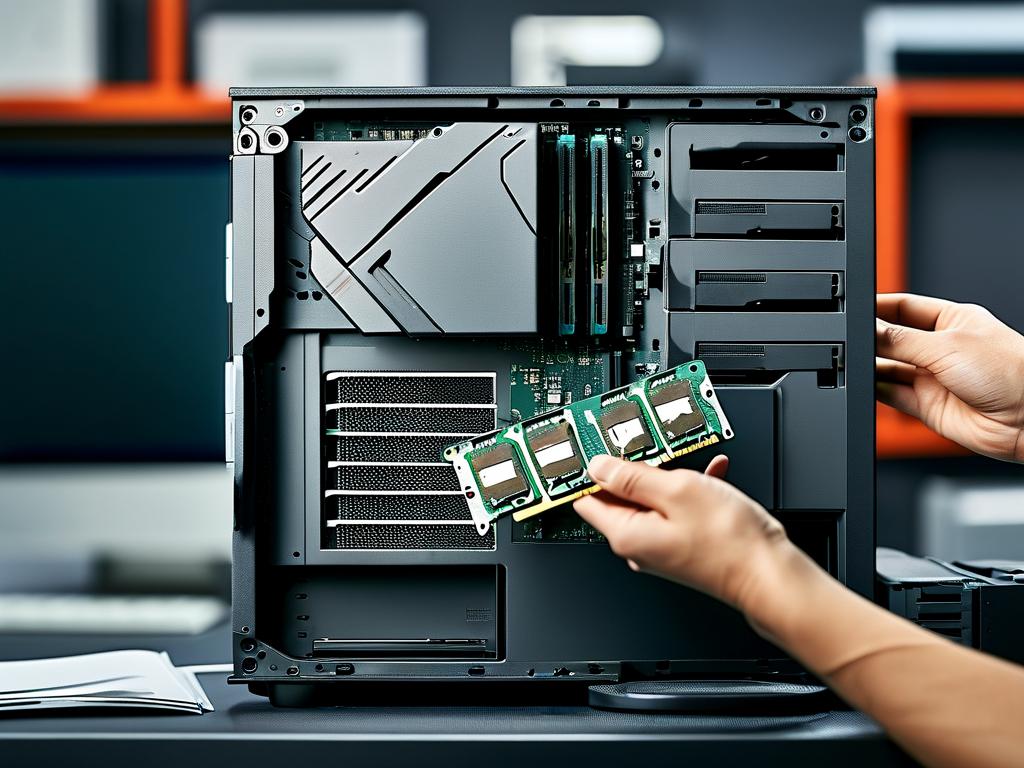
Preparing for Installation
Power off the computer and disconnect all cables. Ground yourself to prevent static discharge by touching a metal surface or wearing an anti-static wristband. Open the computer case using a screwdriver, typically removing side panels for desktop towers. For laptops, consult the user manual to locate the RAM compartment—often secured by a small panel on the underside.
Installing the RAM Modules
Locate the RAM slots on the motherboard. For desktops, release the retention clips on either side of the slot. Align the notch on the RAM module with the slot’s key and press down firmly until the clips snap into place. For laptops, insert the SODIMM module at a 45-degree angle, then gently press it down until it clicks. Avoid forcing the module, as improper alignment can damage pins.
Verifying the Upgrade
After installation, reconnect power and boot the computer. On Windows, open Task Manager (Ctrl+Shift+Esc) and navigate to the Performance tab to confirm the new RAM capacity. Linux users can run free -h in the terminal. If the system doesn’t recognize the RAM, reseat the modules or test them individually to identify faulty hardware.
Optimizing RAM Performance
Ensure your operating system and BIOS are updated to support newer RAM configurations. Enable XMP (Extreme Memory Profile) in the BIOS for overclocking compatible RAM, which unlocks higher speeds. Close unnecessary background applications to free up memory, and consider adjusting virtual memory settings if using older systems with limited physical RAM.
Troubleshooting Common Issues
If the computer fails to boot after installation, check for loose connections or incompatible RAM. Test each module in different slots to isolate problems. Some motherboards require specific slot configurations (e.g., populating Slot A1 before A2). Consult the motherboard manual for guidance.
Benefits of a RAM Upgrade
Increasing RAM reduces reliance on slower storage-based virtual memory, minimizing lag during heavy workloads. Users editing videos, gaming, or running virtual machines will notice smoother performance. Even general tasks like web browsing benefit from reduced loading times.
In summary, upgrading RAM is a cost-effective way to extend your computer’s lifespan and efficiency. By following compatibility guidelines, handling components carefully, and verifying post-installation functionality, even novice users can successfully enhance their system’s capabilities.