Installing computer memory, or RAM, is a straightforward DIY task that can breathe new life into an aging system, boosting speed and multitasking capabilities without breaking the bank. Many users shy away from hardware upgrades, fearing complexity or damage, but with careful preparation and step-by-step guidance, anyone can master this process in under an hour. Start by gathering essential tools: a screwdriver for accessing the case, an anti-static wrist strap to prevent electrostatic discharge that could fry components, and your new RAM modules—ensure they match your motherboard's specifications like DDR4 or DDR5 type, speed, and capacity limits. Before touching anything, power down the computer completely and unplug all cables from the wall outlet; this eliminates risks of electric shock or short circuits. Ground yourself by touching a metal part of the case to discharge static, as even a tiny zap can harm sensitive electronics.

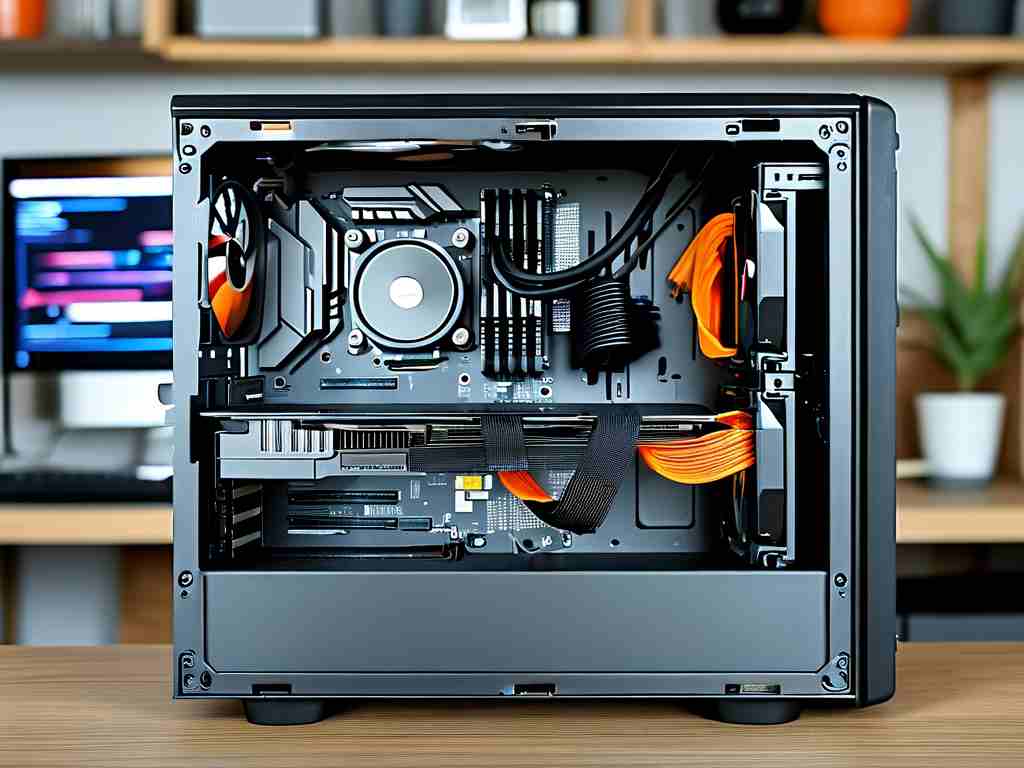
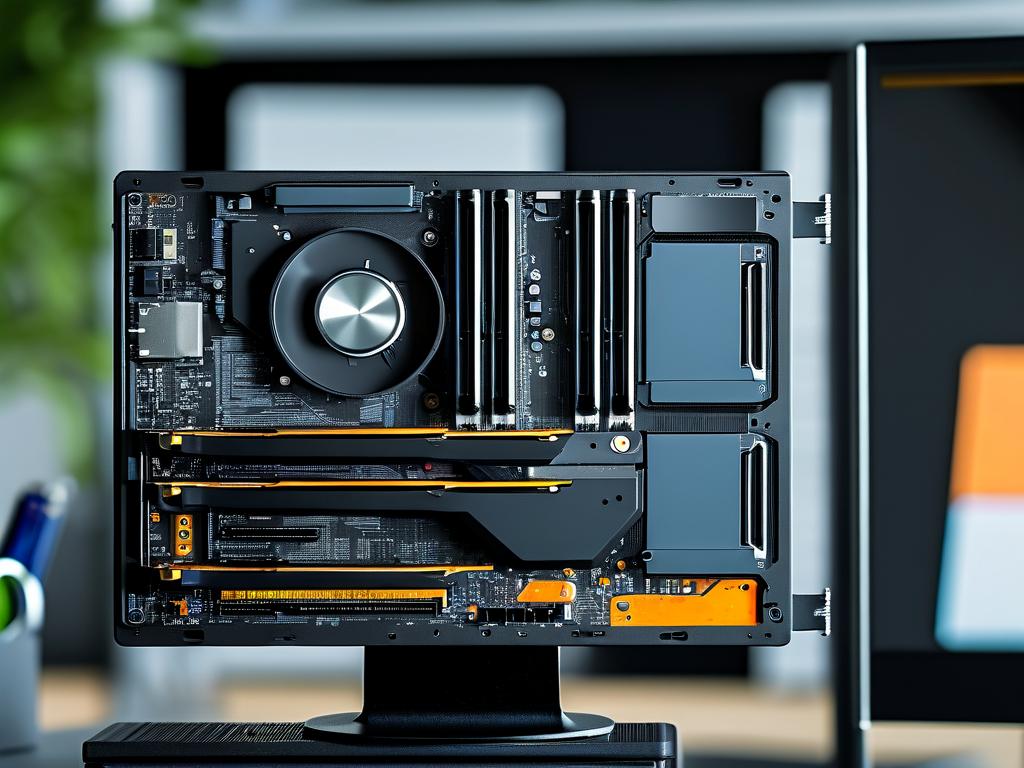
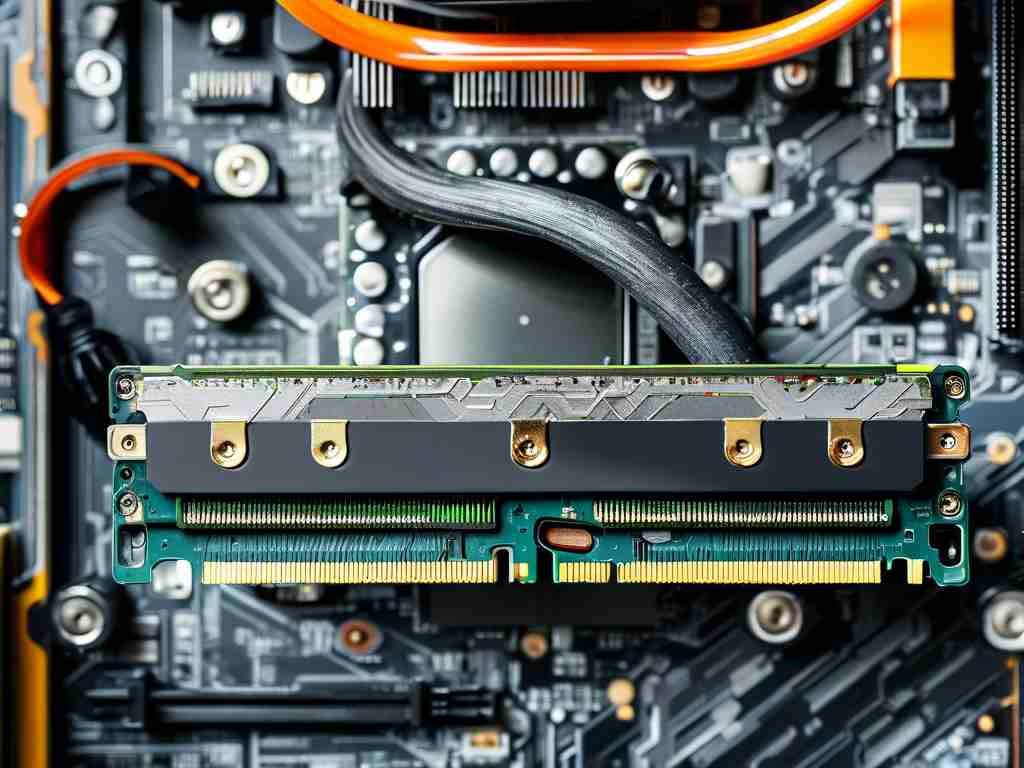
Next, position the computer on a stable, well-lit surface and remove the side panel using the screwdriver—consult your case manual if screws are hidden or latches are tricky. Inside, locate the RAM slots on the motherboard; these are usually long, thin sockets near the CPU, often color-coded in pairs for dual-channel setups. If upgrading, gently press down on the clips at each end of existing modules to release them, then lift them out at a slight angle. For new installations, handle the RAM by the edges to avoid touching gold contacts, which can corrode with oils from skin. Align the notch on the module's bottom edge with the key in the slot—this ensures proper orientation—and press firmly but evenly until the clips snap into place with an audible click. Don't force it; if resistance occurs, recheck alignment. Repeat for additional modules, filling slots as per your motherboard's optimal configuration for maximum performance.
After securing the RAM, reassemble the case by replacing the panel and tightening screws. Reconnect all cables, power up the system, and listen for beeps or watch for LED indicators—a successful boot typically shows no errors. If the computer doesn't start or displays issues like blank screens, double-check seating by powering off and reseating modules. Once booted, enter the BIOS/UEFI settings by pressing a key like F2 or Del during startup; here, navigate to memory settings to verify the new RAM is detected at the correct speed and capacity. In Windows, use Task Manager (Ctrl+Shift+Esc) under the Performance tab to confirm the upgrade, or run a tool like CPU-Z for detailed specs. If problems persist, such as instability or crashes, it could indicate incompatible RAM or a need for BIOS updates—consult your motherboard's support site for firmware patches.
To wrap up, this upgrade not only enhances daily tasks like browsing and gaming but also extends your PC's lifespan affordably. Always buy RAM from reputable brands, and consider consulting online forums or videos for visual aids if unsure. With practice, you'll gain confidence for future DIY projects, turning what seems daunting into a rewarding skill that saves money on professional services. Remember, patience and precision are key—rushing can lead to costly mistakes, so take your time and enjoy the process of empowering your machine.