Virtual memory is a critical component of modern computing, acting as an extension of physical RAM to handle memory-intensive tasks. Whether you’re running resource-heavy applications or multitasking across several programs, adjusting virtual memory can significantly enhance your system’s responsiveness. This guide walks you through the process of modifying virtual memory settings on Windows and macOS systems, while explaining the technical rationale behind these changes.
Understanding Virtual Memory
Virtual memory allows your computer to use part of the storage drive (HDD or SSD) as temporary memory when the physical RAM is fully utilized. This "swap space" ensures that applications continue running smoothly even when RAM capacity is exceeded. However, improper virtual memory configuration can lead to sluggish performance or system crashes. By customizing these settings, users can optimize their machines for specific workloads, such as gaming, video editing, or software development.
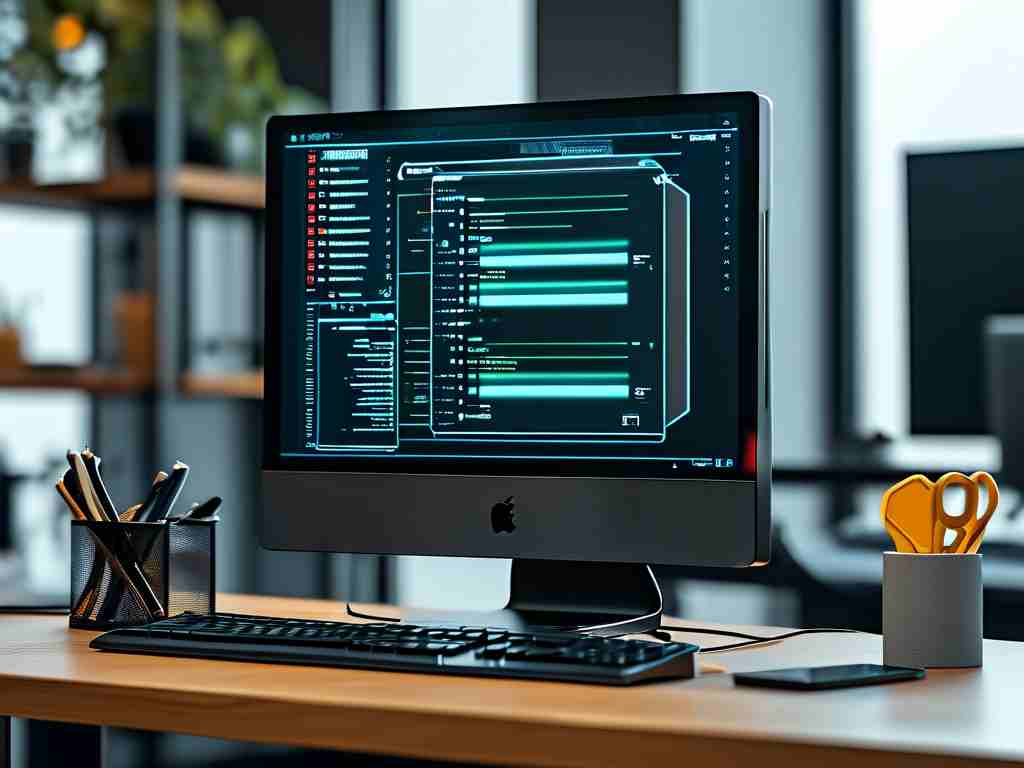
Modifying Virtual Memory on Windows
For Windows users, adjusting virtual memory involves accessing advanced system settings. Follow these steps:
- Open System Properties: Right-click the Start menu, select System, then click Advanced system settings on the right pane.
- Access Virtual Memory Settings: Under the Advanced tab, click Settings in the Performance section. Navigate to the Advanced tab again and select Change under Virtual Memory.
- Customize Paging File Size: Uncheck Automatically manage paging file size for all drives. Select your primary drive, choose Custom size, and set initial and maximum values. A common recommendation is 1.5 times your physical RAM size (e.g., 16GB RAM = 24,576MB initial/max).
- Apply Changes: Click OK and restart your computer.
Pro Tip: Avoid setting the maximum size too high, as this can fragment your storage drive. For SSDs, ensure sufficient free space to maintain drive longevity.
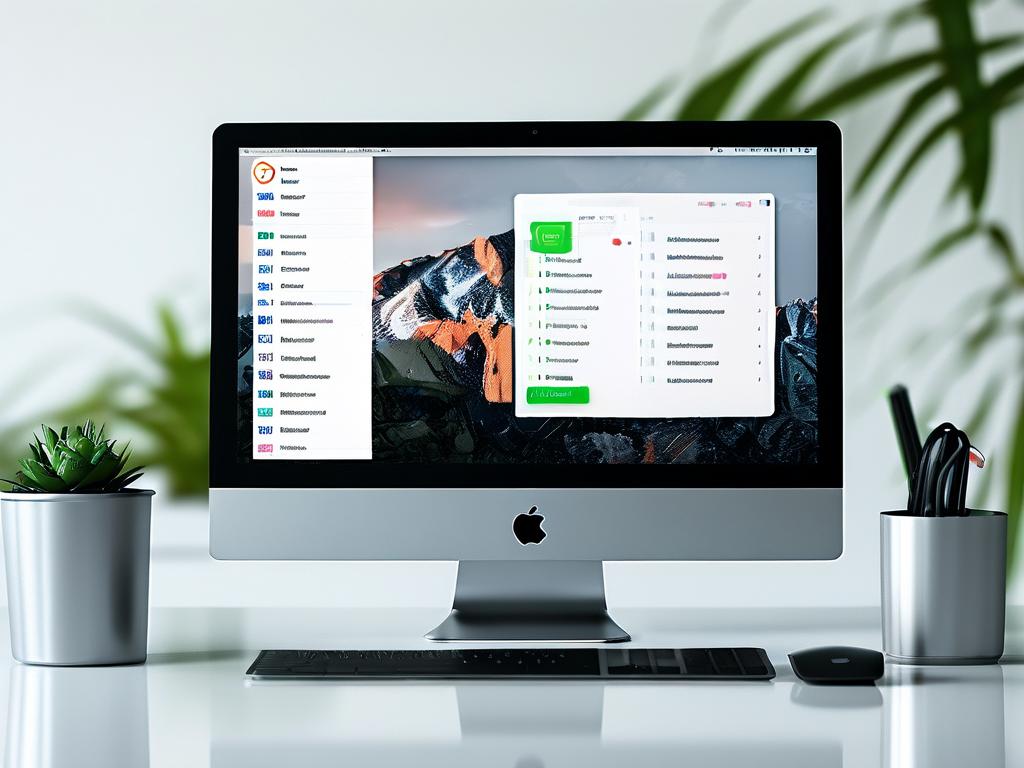
Adjusting Virtual Memory on macOS
macOS handles virtual memory differently, dynamically managing swap files without direct user input. However, power users can influence memory allocation via Terminal commands. For instance:
sudo nvram boot-args="vm_compressor=2" This command adjusts the memory compression algorithm. To monitor swap usage, open Terminal and run:

vm_stat While macOS limits manual tweaks, upgrading RAM or optimizing app usage remains the most effective way to reduce reliance on virtual memory.
When to Modify Virtual Memory
- Frequent "Out of Memory" Errors: If applications crash due to insufficient RAM, increasing virtual memory provides a temporary fix.
- Performance Bottlenecks: Systems slowing down during multitasking may benefit from adjusted swap space.
- Specialized Workloads: Tasks like 3D rendering or machine learning often require fine-tuned memory settings.
Risks and Best Practices
Overallocating virtual memory can degrade storage drive performance, especially on HDDs. For SSD users, excessive write operations may shorten the drive’s lifespan. Always:
- Maintain at least 15–20% free storage space.
- Avoid disabling virtual memory entirely, as this can destabilize the OS.
- Prioritize RAM upgrades for long-term solutions.
Customizing virtual memory is a practical way to optimize computer performance without hardware investments. While the process varies between Windows and macOS, understanding these settings empowers users to tackle memory-related issues proactively. For best results, combine virtual memory adjustments with routine system maintenance, such as clearing cache files and updating drivers.